If you’re looking to spruce up your bathroom without breaking the bank, we’ve got just the tips for you. In this article, we’ll be sharing some quick and easy DIY shower tips that will transform your daily routine into a spa-like experience. Whether you’re dealing with a clogged drain, dingy tiles, or a lackluster shower head, we’ve got the solutions that will have your bathroom looking and feeling brand new in no time. So, grab your tools and get ready to give your shower the upgrade it deserves!
Cleaning Shower Tiles
To keep your shower tiles looking shiny and new, it’s important to regularly clean them. One simple and effective way to do this is by mixing a solution of vinegar and water. Vinegar is a natural cleaning agent that helps to remove dirt and grime from the tiles. Start by mixing equal parts vinegar and water in a spray bottle. Then, spray the solution onto the tiles and let it sit for a few minutes to allow it to penetrate the dirt. Next, grab a soft brush and gently scrub the tiles in a circular motion. Be sure to pay extra attention to any stubborn stains or areas with built-up grime. Once you’ve finished scrubbing, rinse the tiles thoroughly with clean water to remove any residue. This method is great for regular maintenance and will help keep your shower tiles looking clean and fresh.
Removing Soap Scum
Soap scum can quickly build up on shower tiles and glass doors, leaving them looking dull and dirty. Luckily, there’s an easy homemade method for removing soap scum using baking soda and water. First, mix the baking soda and water to create a paste-like consistency. The baking soda acts as a gentle abrasive that helps to break down the soap scum. Apply the paste to the affected areas and let it sit for a few minutes to allow it to work its magic. Then, grab a sponge or soft cloth and gently scrub the soap scum in a circular motion. Be careful not to apply too much pressure or you could scratch the tiles or glass. After scrubbing, rinse the area thoroughly with clean water to remove any residue. This method is effective at removing soap scum and will leave your shower tiles looking clean and shiny.

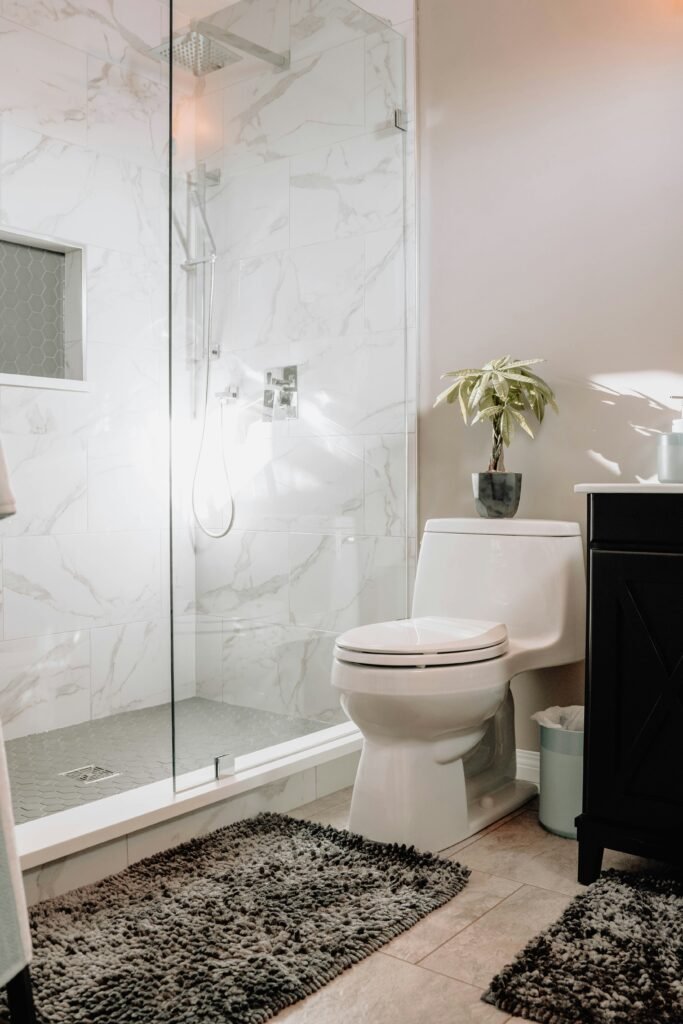
This image is property of images.unsplash.com.
Preventing Mold and Mildew
Mold and mildew can be a common problem in showers, especially in areas with high humidity. To prevent the growth of mold and mildew, it’s important to keep your shower well-ventilated. Make sure you have a vent fan installed and use it during and after showering to help remove excess moisture from the air. Additionally, using a squeegee can help to remove excess water from the walls and floors of your shower, preventing mold and mildew from taking hold. Regularly cleaning your shower with a mildew-resistant disinfectant is also important. This not only helps to kill any existing mold and mildew spores but also helps to prevent their growth. Lastly, consider installing a mildew-resistant shower curtain to further protect against mold and mildew. By following these steps, you can keep your shower clean and mold-free.
Making Natural Shower Cleaners
If you prefer to use natural cleaning products in your home, you can easily make your own shower cleaner using vinegar and water. Vinegar is a versatile cleaner that can effectively remove dirt, grime, and soap scum. To make your own natural shower cleaner, simply mix equal parts vinegar and water in a spray bottle. If desired, you can also add a few drops of essential oil for a pleasant fragrance. Shake the bottle well to combine the ingredients and then spray the solution onto the surfaces of your shower. Let it sit for a few minutes to allow it to penetrate and loosen any dirt or soap scum. Then, use a cloth or sponge to wipe down the surfaces and remove any residue. This natural cleaner is simple to make and works wonders in keeping your shower clean and fresh.

This image is property of images.unsplash.com.
Unclogging the Shower Drain
A clogged shower drain can be a frustrating problem that can lead to standing water and slow drainage. If you’re dealing with a clogged shower drain, there are a few simple steps you can take to try and clear the blockage. Start by removing any visible debris from the drain using gloved hands. Hair and soap scum are common culprits for clogged drains, so be sure to remove as much as possible. Next, pour boiling water down the drain to help break up any grease or soap residue. If the clog persists, try using a plunger to create a seal around the drain and plunge vigorously to dislodge the blockage. This method can be effective for minor clogs. If you still can’t clear the drain, it may be time to call a professional plumber for further assistance.
DIY Shower Head Cleaner
Over time, mineral deposits can build up in your shower head, causing reduced water flow and a less effective showering experience. To keep your shower head clean and functioning properly, try this simple DIY cleaner. First, fill a plastic bag with white vinegar, making sure there’s enough vinegar to completely submerge the shower head. Then, attach the bag to the shower head, securing it with a rubber band or tie. Make sure that the vinegar is covering the entirety of the shower head. Leave the bag in place overnight to allow the vinegar to dissolve the mineral deposits. In the morning, remove the bag and run water through the shower head to flush out any remaining residue. This method is an easy and effective way to keep your shower head clean and free from mineral buildup.

This image is property of images.unsplash.com.
Removing Rust Stains
If you notice unsightly rust stains on your shower tiles or surfaces, there’s a simple homemade solution that can help remove them. Create a paste using lemon juice and salt. Lemon juice is acidic and acts as a natural bleaching agent, while the salt helps to gently scrub away the rust. Apply the paste to the rust stain and let it sit for a few hours to allow the lemon juice and salt to work their magic. Then, grab a brush or sponge and scrub the stain in a circular motion. Be sure to rinse thoroughly to remove any residue once the rust stain is removed. This method is effective at removing rust stains and will leave your shower looking clean and revitalized.
Organizing Shower Products
Keeping your shower products organized not only helps to keep your shower clutter-free but also makes it easier to find what you need when you’re in a hurry. One easy way to keep your shower organized is by installing a shower caddy. There are many different caddy options available, from hanging caddies that attach to your showerhead to corner caddies that sit on the floor of your shower. Choose one that fits your needs and install it in your shower. Another option is to use suction cup hooks or shelves to hold your products. These can easily be attached to the shower walls and are great for storing items such as loofahs or washcloths. Arrange your products by frequency of use, keeping your most-used items within easy reach. Lastly, consider labeling your containers to make it easy to identify the product you need. By organizing your shower products, you can create a neat and tidy shower space.
Replacing a Shower Head
If you’re looking to upgrade your shower head or simply need to replace a worn-out one, you can easily do it yourself with a few simple steps. Start by turning off the water supply to the shower. This can usually be done by turning off the water valves located near the shower. Next, remove the old shower head by twisting it counterclockwise. Once the old shower head is removed, clean the pipe threads to ensure a secure fit for the new shower head. You can use a damp cloth or brush to remove any debris or old Teflon tape. Speaking of Teflon tape, this is an essential step in the installation process. Wrap Teflon tape around the threads of the shower arm in a clockwise direction. This will create a tight seal and prevent any leaks. Finally, attach the new shower head to the shower arm by twisting it clockwise. Use a towel or a pair of pliers to tighten it if necessary. Once the new shower head is securely in place, turn on the water supply and check for any leaks. Replacing a shower head is a simple DIY project that can make a big difference in your showering experience.
Upgrading Shower Fixtures
If you’re looking to give your shower a fresh new look, consider upgrading your shower fixtures. Start by choosing fixtures that match your existing plumbing. This will ensure a seamless transition and prevent the need for any additional plumbing work. Consider the overall style and design of your bathroom and choose fixtures that complement your existing decor. Additionally, it’s a good idea to look for water-saving options. Many modern shower fixtures are designed to conserve water without sacrificing performance, which can help save on your water bill and reduce your environmental impact. When it comes to installation, be sure to follow the manufacturer’s instructions carefully. This will ensure that your new fixtures are installed correctly and function properly. Upgrading your shower fixtures is a great way to give your bathroom a fresh new look and improve your showering experience.
With these quick and easy DIY shower tips, you can effectively clean and maintain your shower, tackle common issues like clogged drains and mineral buildup, and even upgrade your fixtures for a fresh new look. By following these steps, you’ll be able to enjoy a clean, organized, and rejuvenating shower experience every day. So grab your supplies and get started on transforming your shower into a pristine oasis!

