Ready to give your kitchen a thorough cleaning? It’s time to roll up your sleeves, grab your cleaning supplies, and follow this step-by-step guide to deep cleaning your kitchen. From tackling those stubborn stains to getting rid of grease build-up, this comprehensive guide will help you transform your kitchen into a sparkling oasis of cleanliness. Say goodbye to dirt and grime, and hello to a fresh and inviting space where delicious meals can be prepared with care. Let’s get started!

This image is property of images.unsplash.com.
Gather the necessary supplies
Before you embark on your kitchen deep cleaning journey, it’s important to gather all the necessary supplies. Here’s a handy checklist to make sure you have everything you need:
Cleaning solution
Having a good cleaning solution is key to getting rid of grease, grime, and stubborn stains in your kitchen. Look for a multi-purpose cleaner that is suitable for different surfaces.
Microfiber cloth
Microfiber cloths are a must-have for any cleaning task. They are highly effective at trapping dust, dirt, and allergens without leaving behind streaks or lint.
Sponges
Sponges are great for tackling tough stains and scrubbing away dirt from various surfaces. Opt for sponges with a rough side for scrubbing and a soft side for gentler cleaning.
Scrub brush
A scrub brush is essential for deep cleaning tasks such as scrubbing the sink basin, stovetop, and oven racks. Look for a brush with sturdy bristles for effective scrubbing power.
Gloves
Protect your hands from chemicals and hot water by wearing gloves throughout the cleaning process. Choose gloves that are waterproof and provide good grip.
Trash bags
Keep a few large trash bags handy to easily dispose of any expired food items, packaging, or other kitchen waste that you’ll encounter during the cleaning process.
Broom and dustpan
Before you start cleaning the floors, make sure you have a broom and dustpan to sweep away any loose dirt, crumbs, or pet hair.
Vacuum cleaner
If you have a carpeted kitchen or want to thoroughly clean any rugs, a vacuum cleaner will come in handy. Make sure it’s equipped with appropriate attachments for cleaning different surfaces.
Now that you have all the necessary supplies, it’s time to roll up your sleeves and get down to business!
Clear the countertops
The first step in deep cleaning your kitchen is to clear the countertops. Remove all items, including small appliances, utensils, and décor. This will give you a clean slate to work on and ensure that no area is left untouched.
Once everything has been removed, take a microfiber cloth or a sponge and wipe down the surface of the countertops. Pay attention to any spills, stains, or crumbs that may have accumulated. If there are any stubborn stains, use a cleaning solution and scrub gently with a sponge.
By clearing and wiping down your countertops, you’ll not only create a more visually appealing space, but also eliminate any potential sources of dirt or bacteria.
Empty and clean the refrigerator
Next on the deep cleaning agenda is your refrigerator. Start by removing all food items from the fridge. Check the expiration dates and dispose of anything that is past its prime. This will not only create more space but also ensure that you’re working with fresh ingredients.
Once the fridge is empty, take out the shelves and drawers and wash them with warm soapy water. Pay special attention to any spills or sticky residue. Use a sponge or cloth to clean the interior walls and surfaces of the fridge as well. Make sure to get into all the nooks and crannies.
By emptying and cleaning your refrigerator, you’ll not only maintain a hygienic and organized space, but also prolong the freshness of your food items.
Clean the oven and stovetop
The oven and stovetop are often the most challenging parts of the kitchen to clean, but with the right approach, it can be a breeze. Start by removing the oven racks and soak them in warm soapy water. While the racks are soaking, apply an oven cleaner to the interior surfaces of the oven according to the manufacturer’s instructions. Let the cleaner sit for the recommended time before wiping it away.
While the oven cleaner is doing its magic, turn your attention to the stovetop. Wipe down the surface with a microfiber cloth or sponge and a cleaning solution. Pay special attention to any food residue or grease. For stubborn stains or burnt-on food, use a scrub brush.
Don’t forget to clean the burner grates as well. Remove them from the stovetop and wash them with warm soapy water. If necessary, scrub away any cooked-on grime.
By giving your oven and stovetop a thorough cleaning, you’ll ensure that they continue to function efficiently and look their best.

This image is property of images.unsplash.com.
Wash the dishes and utensils
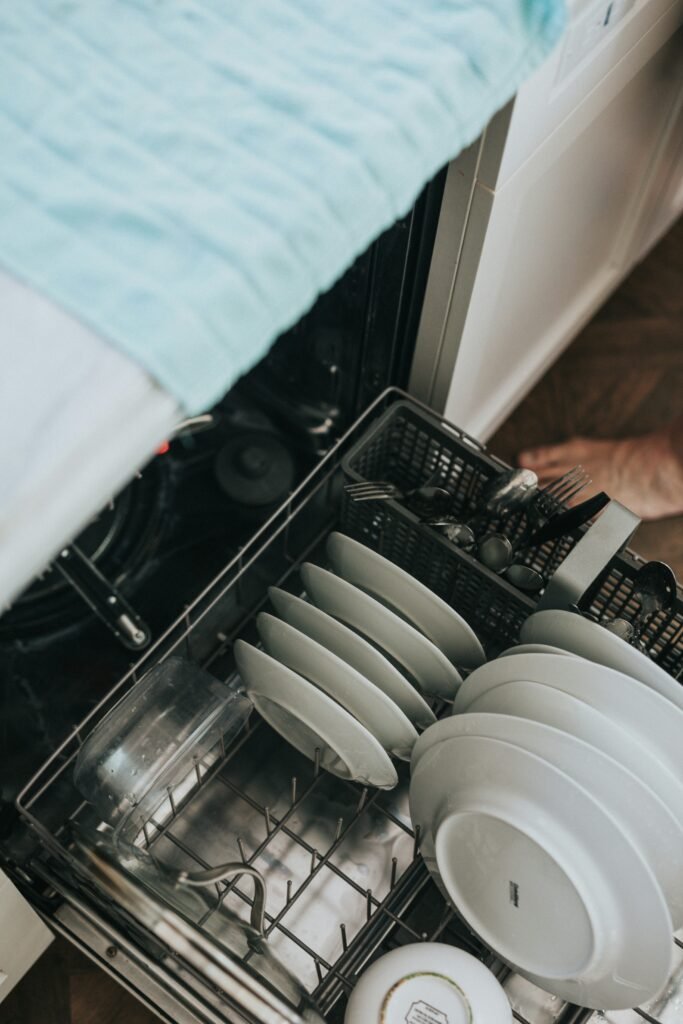
Now that the major kitchen appliances are taken care of, it’s time to focus on the everyday essentials – the dishes and utensils. Start by soaking any dirty dishes in hot, soapy water to loosen any food residue. Once they have soaked for a bit, scrub them with a sponge or brush to remove any remaining grime. Rinse each dish thoroughly to ensure no soap residue is left behind before drying and putting them away.
For utensils and cutlery, use a scrub brush or sponge to thoroughly clean each piece. Pay attention to any nooks or crevices where food particles may have lodged. Rinse the utensils well and dry them before returning them to their designated places.
By keeping up with the dishes and utensils on a regular basis, you’ll maintain a tidy and functional kitchen that is always ready for meal preparation.
Deep clean the cabinets and drawers
Cabinets and drawers tend to accumulate dirt, dust, and food debris over time. To give them a refreshing deep clean, start by emptying out the contents. Sort through the items and discard any expired food, empty containers, or items you no longer use.
Once the cabinets and drawers are empty, take a microfiber cloth or sponge and wipe down the interior surfaces. Pay special attention to any spills or sticky spots. For stubborn stains, use a cleaning solution and scrub gently with a sponge or brush.
Don’t forget to clean the cabinet doors and drawer fronts as well. Wipe them down with a cloth or sponge, making sure to reach the corners and edges. Once everything is clean, organize and reassemble the items back into the cabinets and drawers in a neat and efficient manner.
By deep cleaning your cabinets and drawers, you’ll not only eliminate dirt and grime but also create a more organized and functional storage space.

This image is property of images.unsplash.com.
Scrub the sink
The kitchen sink is one of the most frequently used areas in any kitchen, and it deserves some extra attention when it comes to cleaning. Start by removing any dishes or debris from the sink. This will allow you to clean the entire basin thoroughly.
Apply a cleaning solution to the sink, focusing on areas where stains or residue may be present. Use a scrub brush to scrub the sink basin and faucet, paying attention to any crevices or corners. Rinse the sink thoroughly to remove any cleaning residue and wipe it dry with a clean cloth.
By keeping your sink clean and free of dirt and grime, you’ll maintain a hygienic and visually appealing kitchen.
Clean the microwave
The microwave is another kitchen appliance that requires regular cleaning to ensure its efficiency and hygiene. Start by removing the turntable and any other removable parts. Clean them separately with warm soapy water, making sure to scrub away any food residue or stains.
With the turntable removed, wipe down the interior of the microwave with warm soapy water. Pay special attention to any hardened food spills or splatters. Use a sponge or cloth to thoroughly clean the interior surfaces. Don’t forget to clean the exterior surfaces of the microwave as well, including the control panel and door.
By keeping your microwave clean, you’ll ensure that it works properly and is free of any lingering food odors or stains.
Dust and wipe down surfaces
Once the major cleaning tasks are taken care of, it’s time to focus on the smaller details, such as dusting and wiping down surfaces. Remove any items from shelves and countertops to access all the surfaces.
Start by dusting the shelves and countertops with a microfiber cloth or duster. Pay attention to any corners or crevices where dust may accumulate. Once the dusting is done, take a cleaning solution and wipe down the surfaces to remove any remaining dirt or grime. Make sure to reach all areas, including the backsplash and corners.
By dusting and wiping down surfaces regularly, you’ll maintain a clean and sanitary kitchen environment.
Sweep and mop the floors
Last but not least, it’s time to give your kitchen floors some much-needed attention. Start by sweeping or vacuuming the floor to remove any loose dirt or debris. Pay special attention to corners and under appliances or furniture.
Fill a bucket with warm soapy water and use a mop to clean the floor in sections. Start from one side of the kitchen and work your way towards the exit. Make sure to wring out excess water from the mop to avoid leaving behind a wet floor. Allow the floor to air dry completely before walking on it or replacing any furniture.
By regularly sweeping and mopping your kitchen floors, you’ll keep them free of dirt, dust, and food particles, creating a clean and inviting space.
Congratulations, you’ve successfully completed a comprehensive deep cleaning of your kitchen! By following these step-by-step instructions and dedicating some time and effort, your kitchen will remain clean, organized, and ready for all your culinary adventures. Remember to maintain regular cleaning habits to keep your kitchen in top shape for years to come. Happy cleaning!

